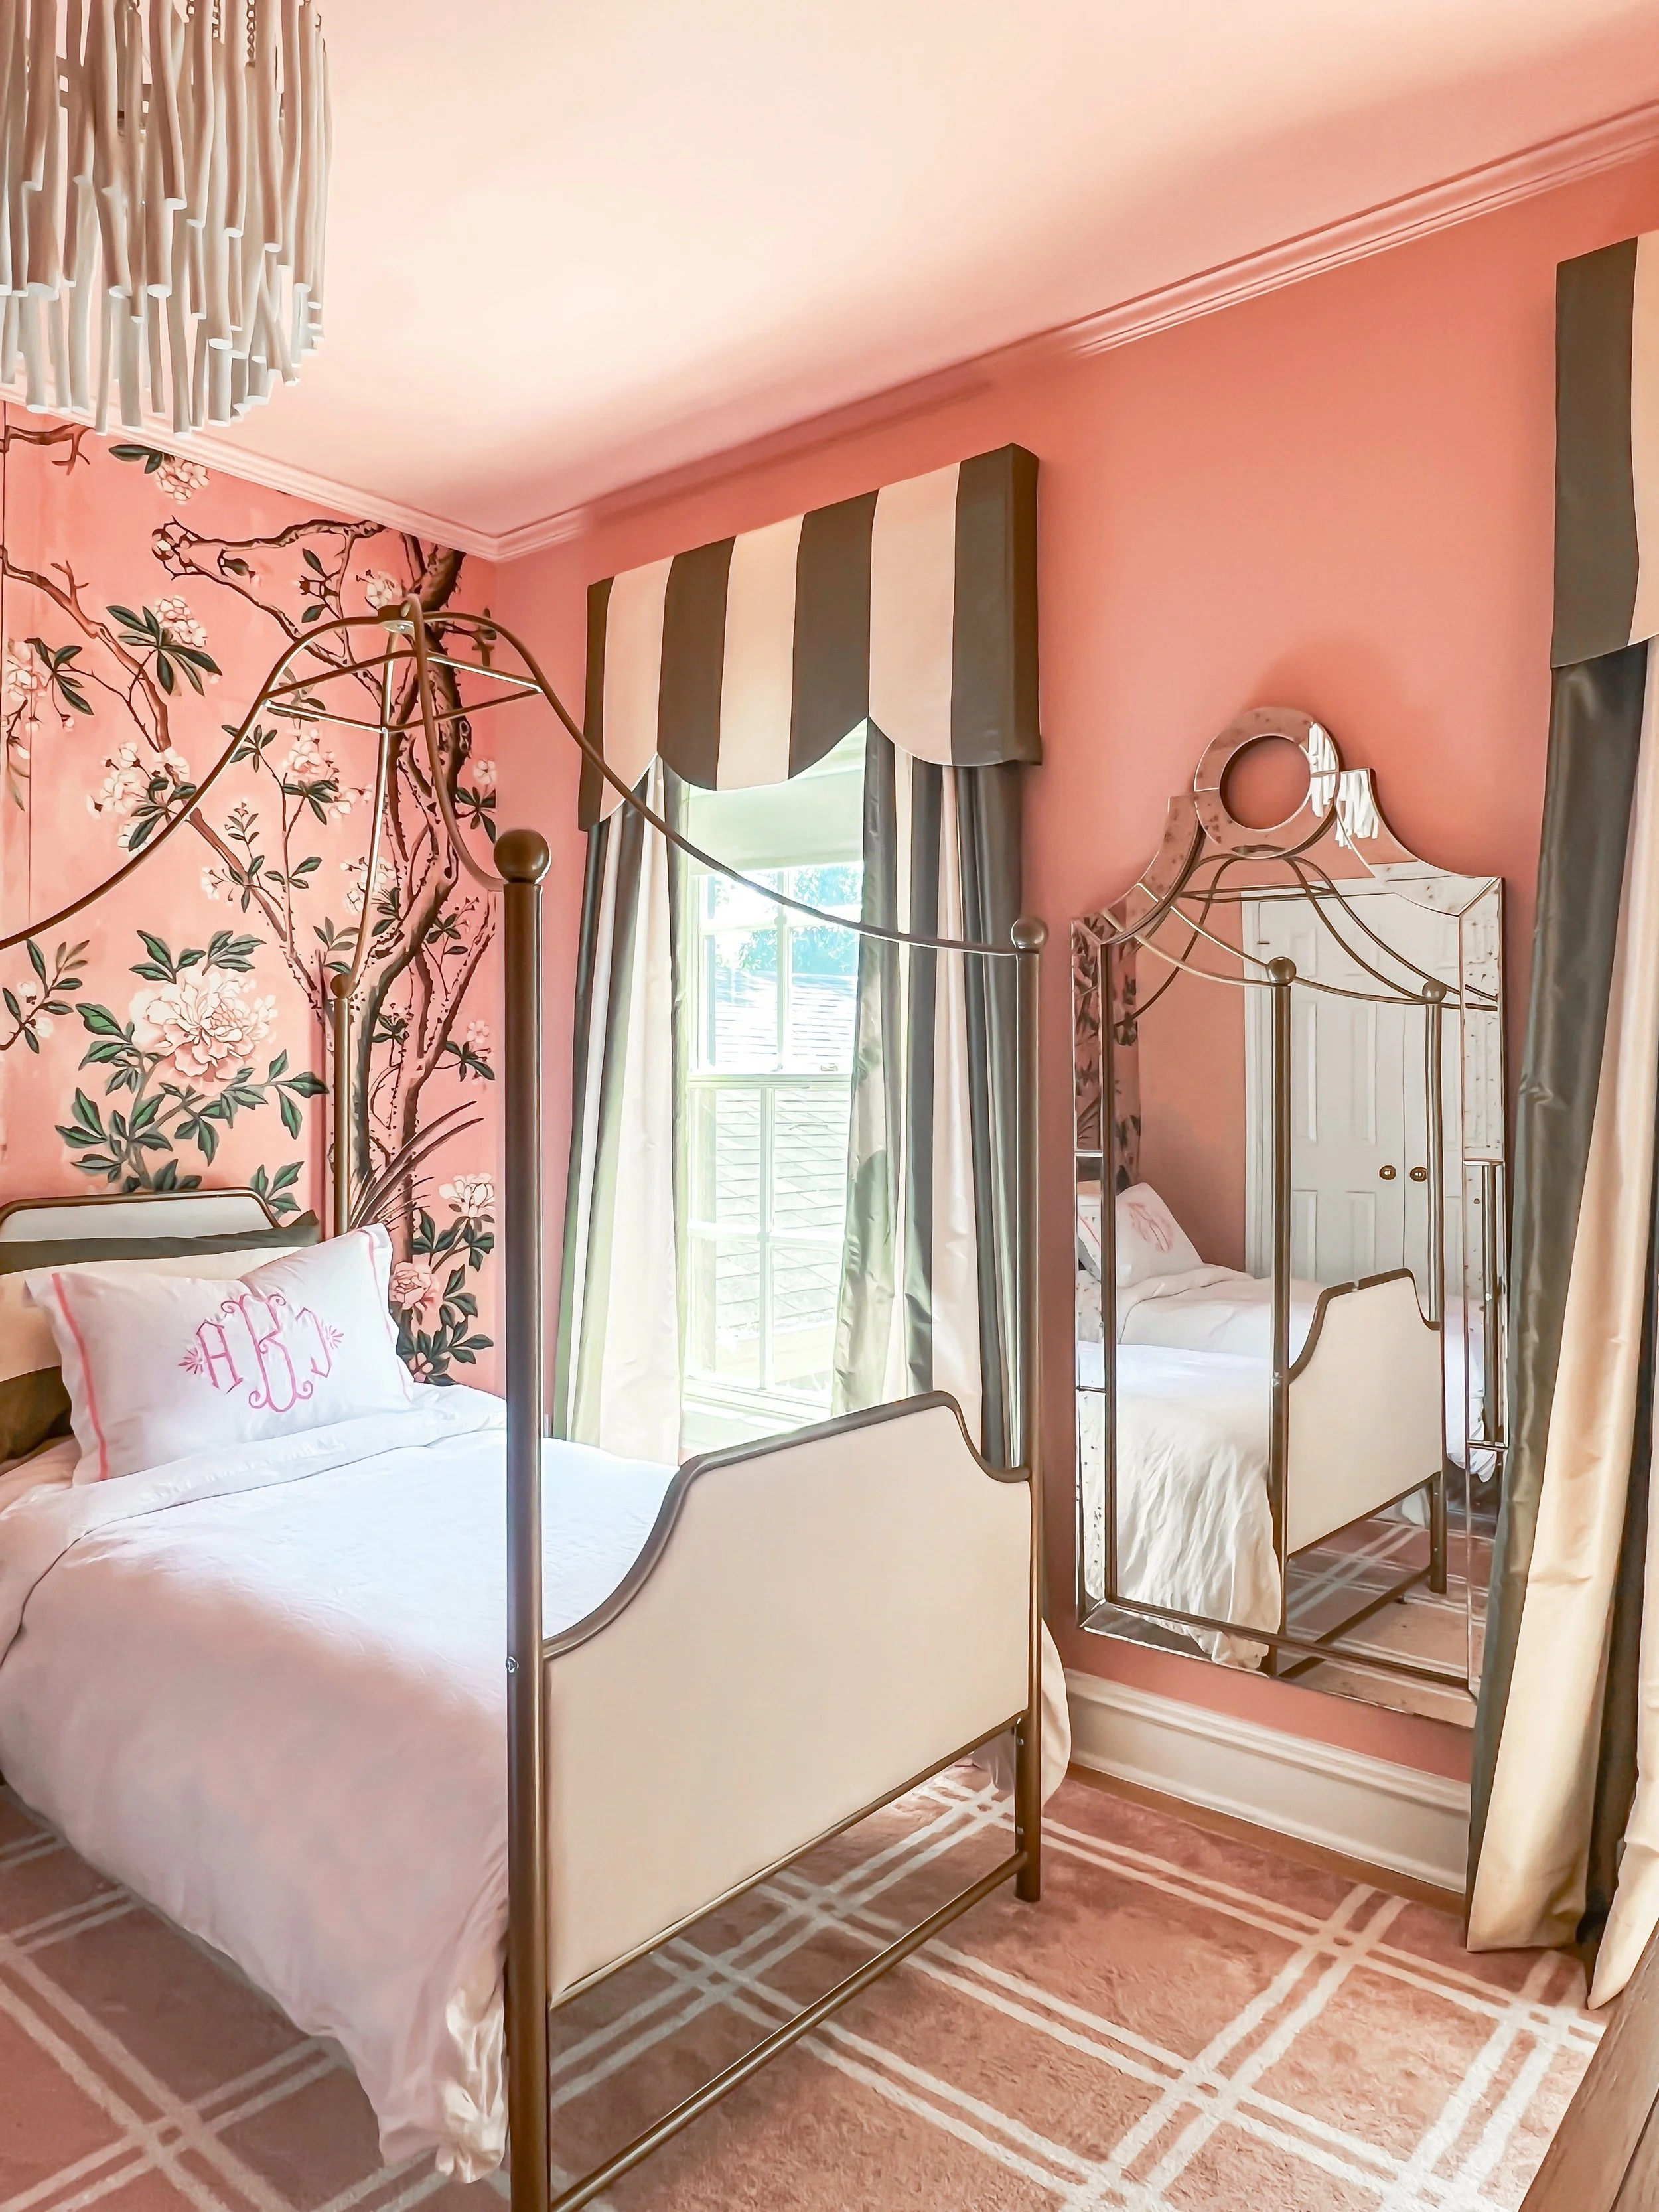
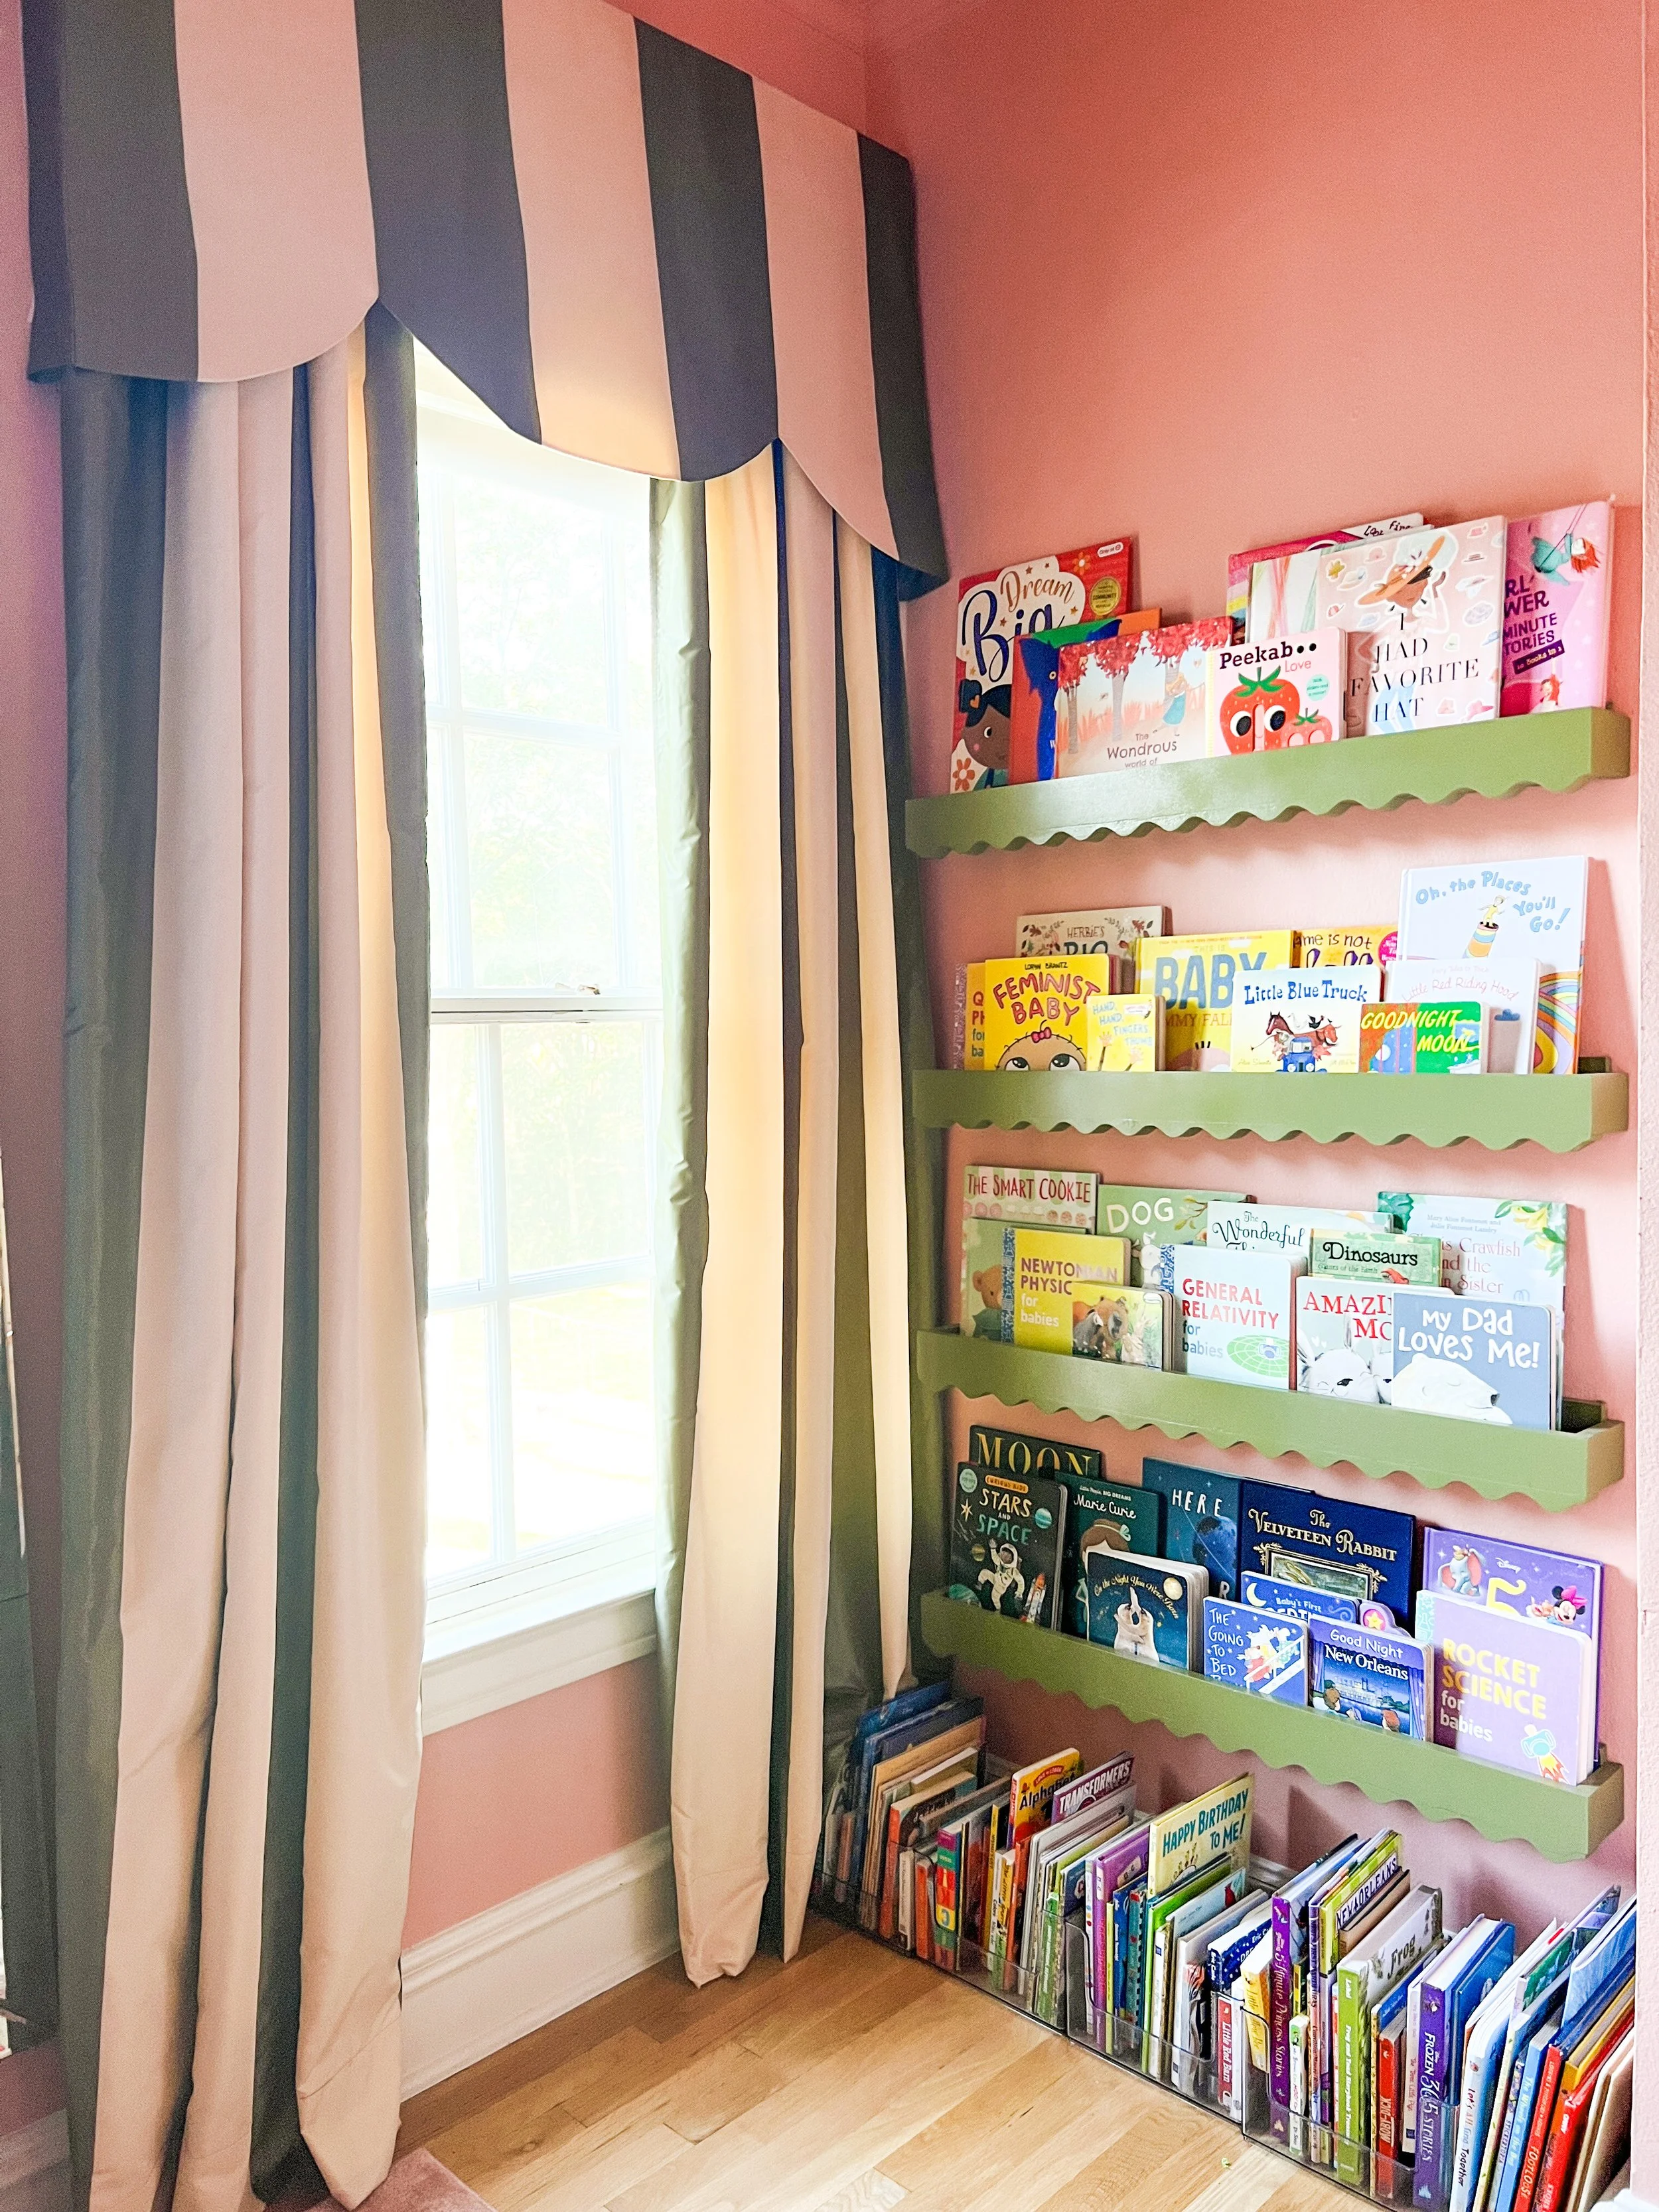
DIY || Cornice & Curtains
I have definitely done my share of curtains throughout the years but this was t cornice I have ever made. I didn’t look at any how-tos (which might have prevented some trial and error lol) but instead I just made it the way I wanted.
I started out by getting this taffeta stripe fabric online. I ended up getting about 16 yards with allowed me a little extra for some bed pillows too! I decided to line them as well so they would be blackout… so I grabbed some blackout curtain lining as well.
I drew out some cornice designs and picked out my favorite. After measuring on the window how far I wanted it to come down I made a pattern using some pattern paper. I hand drew the pattern on folded paper and then cut it out while it was still folded… doing this ensures that it is symmetrical.
After cutting out 2 layers of my fabric using the pattern for the cornice (2 for each window) I also cut out some super thick felt fusing for the inside. This helped keep cornice stiff when it was up on the wall. I wanted it to be stiff but not too hard like a “made of wood” cornice. Plus to me it was simpler to fuse the cornice and sew it rather than making a wood scalloped frame.
After sewing and ironing the cornice I stapled the top of it to a simple 2x4 frame I made and added some metal brackets to the back. I didn’t think about not being able to staple the sides down before getting it screwed to the wall… ( I wouldn’t have had enough room the get my drill between the cornice and wall if the sides were stapled.)
So instead, I decided to just use some strong velcro tape and it worked perfectly! That way I could screw the cornice into the wall and then secure the sides down on the Velcro after it was up on the wall.
Here is a quick video of the process:
Hope you enjoyed this DIY!
Xo
Shirin